To follow these steps, you will need to have your own GCP account.
A GCP account can be created for free, and with a new account you get a one-year free trial phase with $300 worth of credits to experiment with the GCP products. You will need some of these credits to follow along.
The cost of having a small kubernetes cluster for a few days came to about $3-4 per day. Don't forget to remove unused resources or you may be billed by GCP!
Sign in or set up a new account on Google Cloud Platform: https://cloud.google.com/
You will need to provide a valid credit card in order to complete the account setup. If you cannot provide a credit card or bank account, you will not be able to proceed with this exercise. In this case, just watch and learn for future reference.
Once you are signed in, proceed to the Console. The Console is your starting point in GCP, and we will get back to the Console again and again.
A first default project is created for you, named My First Project. We are using this project to host our Kubernetes cluster.
On the left hand side panel in the Console, go to Kubernetes Engine > Clusters

Select CREATE CLUSTER
For this exercise, we following the guide for the recommended starter cluster:
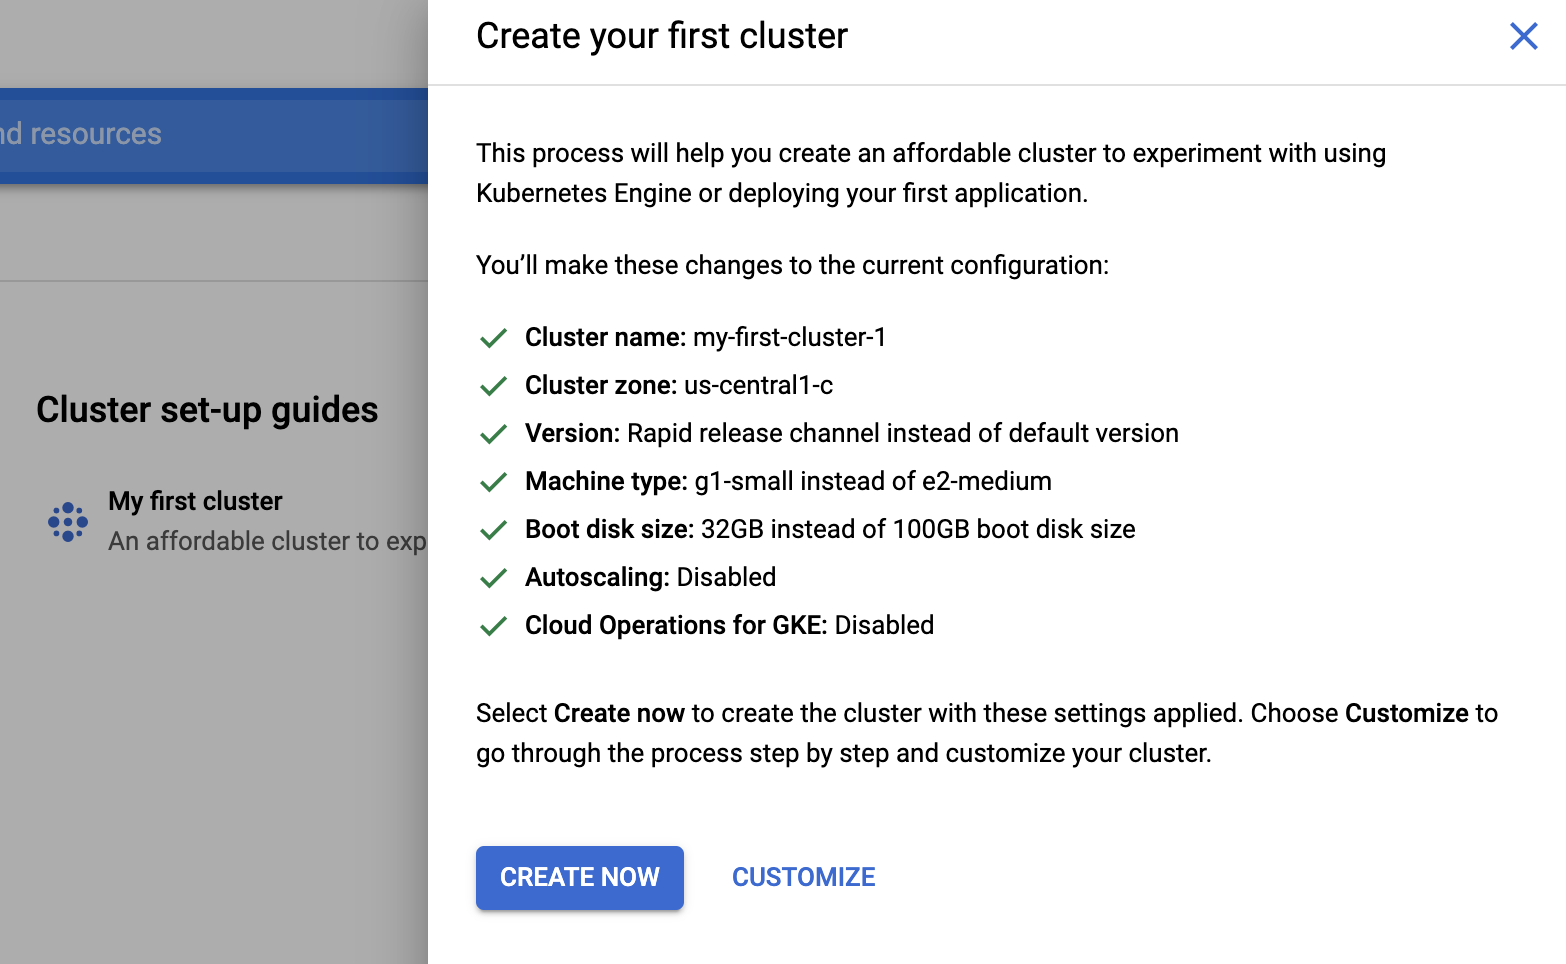
Select CREATE NOW
It takes a bit of time until this is created (3-5mins). Here you see my-first-cluster-1 being created.
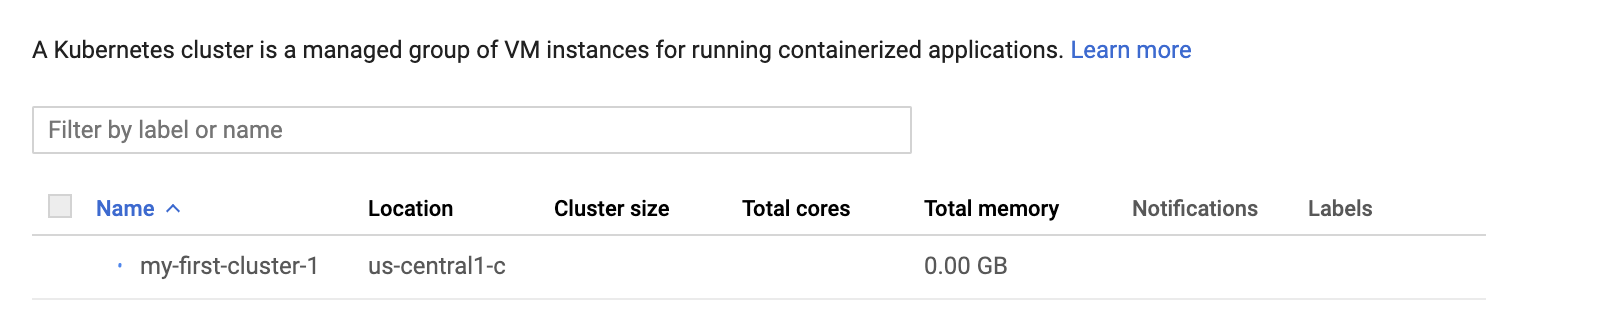
Once created, you will see the allocated resource:

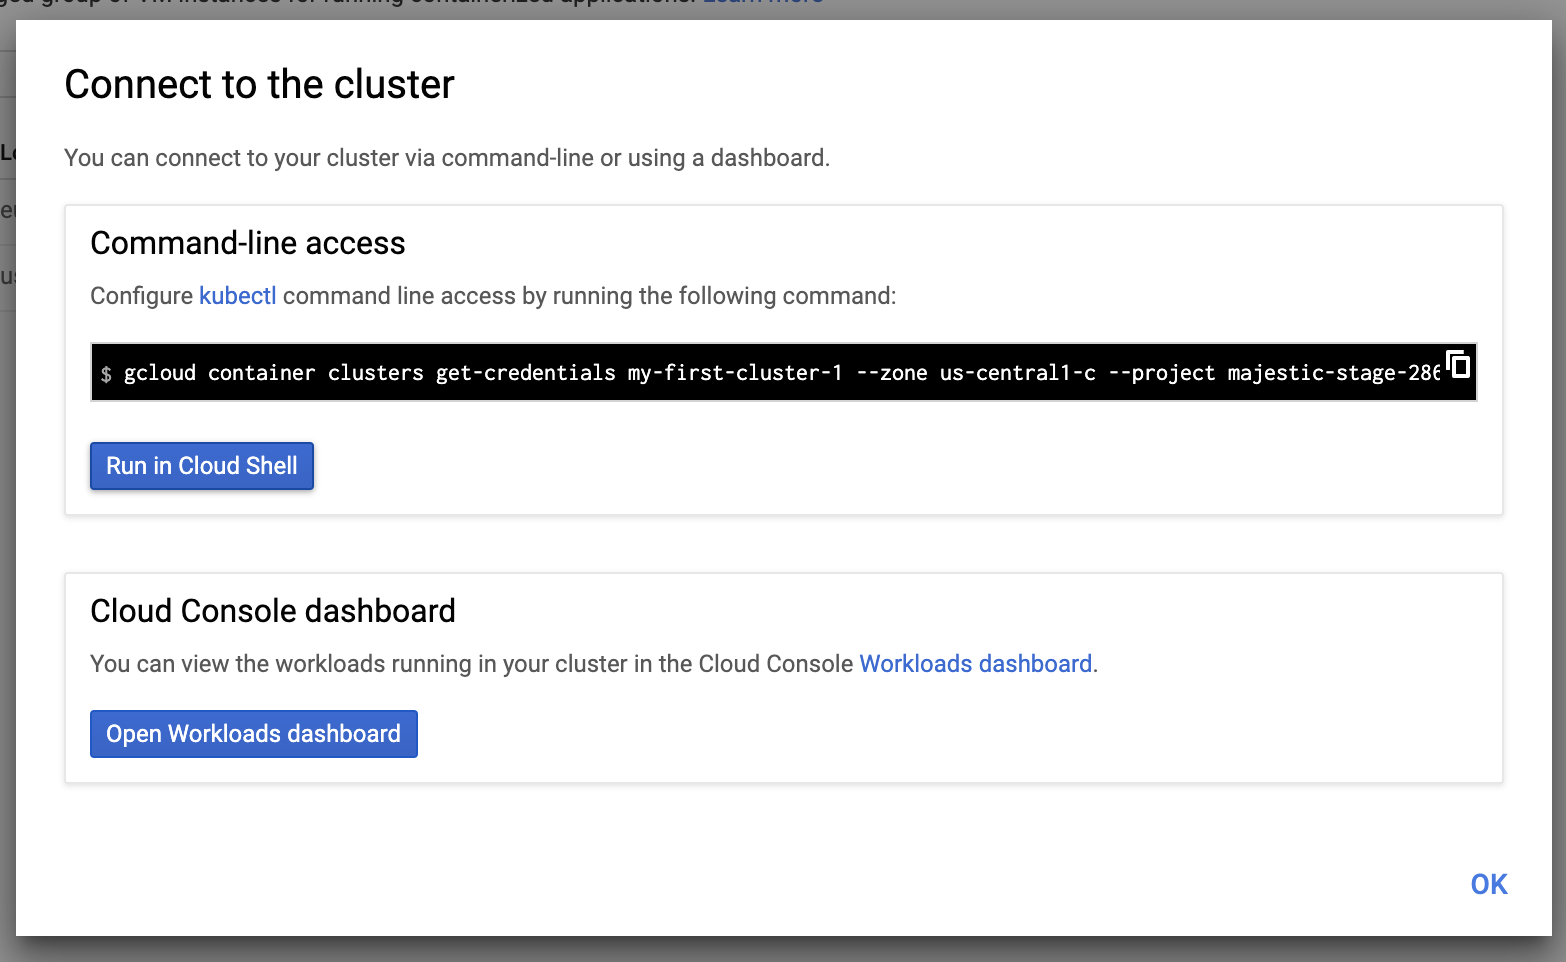
Click on the Connect button to open a console terminal to control this cluster
Select to Run in Cloud Shell: