Nodeports are easy to set up, but they have a big disadvantage: they are bound to a particular kubernetes worker node. If a pod gets deleted and recreated, it might get scheduled on a different worker node, and we won't be able to reach it anymore via the nodeport.
A way to abstract this node binding is to deploy the pods as deployments and to use load balancer services to address the pods in the deployment and correctly route any external traffic.
Let's reconfigure our kubernetes cluster for this exercise:
kubectl delete namespace my-app
Wait a moment until all pods and services are deleted.
Delete your firewall rules that you created earlier:
gcloud compute firewall-rules delete test-node-port
You will see an output like this:
The following firewalls will be deleted:
 - [test-node-port]
Do you want to continue (Y/n)?  Y
Deleted [https://www.googleapis.com/compute/v1/projects/majestic-stage-286312/global/firewalls/test-node-port].
Do the same for the other rule you set up.
kubectl create namespace my-app
touch backendConfig.yaml
Content for backendConfig.yaml
apiVersion: v1
kind: ConfigMap
metadata:
  name: backend-config
data:
  USE_ASTRA: "true"
Apply this in the namespace my-app
kubectl -n my-app apply -f backendConfig.yaml
Next, instead of creating a single pod for the backend, we create a deployment that specifies how many replicas we want to run for a pod. Due to architecture of the backend app (and the way it stores the Astra credentials) we can only have one replica. But in other cases, you might want to run with 3 or so.
touch astra-backend-deployment.yaml
Content for astra-backend-deployment.yaml
apiVersion: apps/v1
kind: Deployment
metadata:
  name: astra-backend
spec:
  replicas: 1
  selector:
    matchLabels:
      astra: backend
  template:
    metadata:
      labels:
        astra: backend
    spec:
      containers:
      - name: astra-backend
        image: datastaxdevs/app-to-cloud:backend
        ports:
        - containerPort: 5000
        envFrom:
        - configMapRef:
            name: backend-config
let's apply the deployment in the namespace my-app too:
kubectl -n my-app apply -f astra-backend-deployment.yaml
The pods start very quicly:
$ kubectl get pods -n my-app
NAME                             READY   STATUS    RESTARTS   AGE
astra-backend-7bbf8d5644-gs6ws   1/1     Running   0          13s
We can now see the deployment in our workloads:
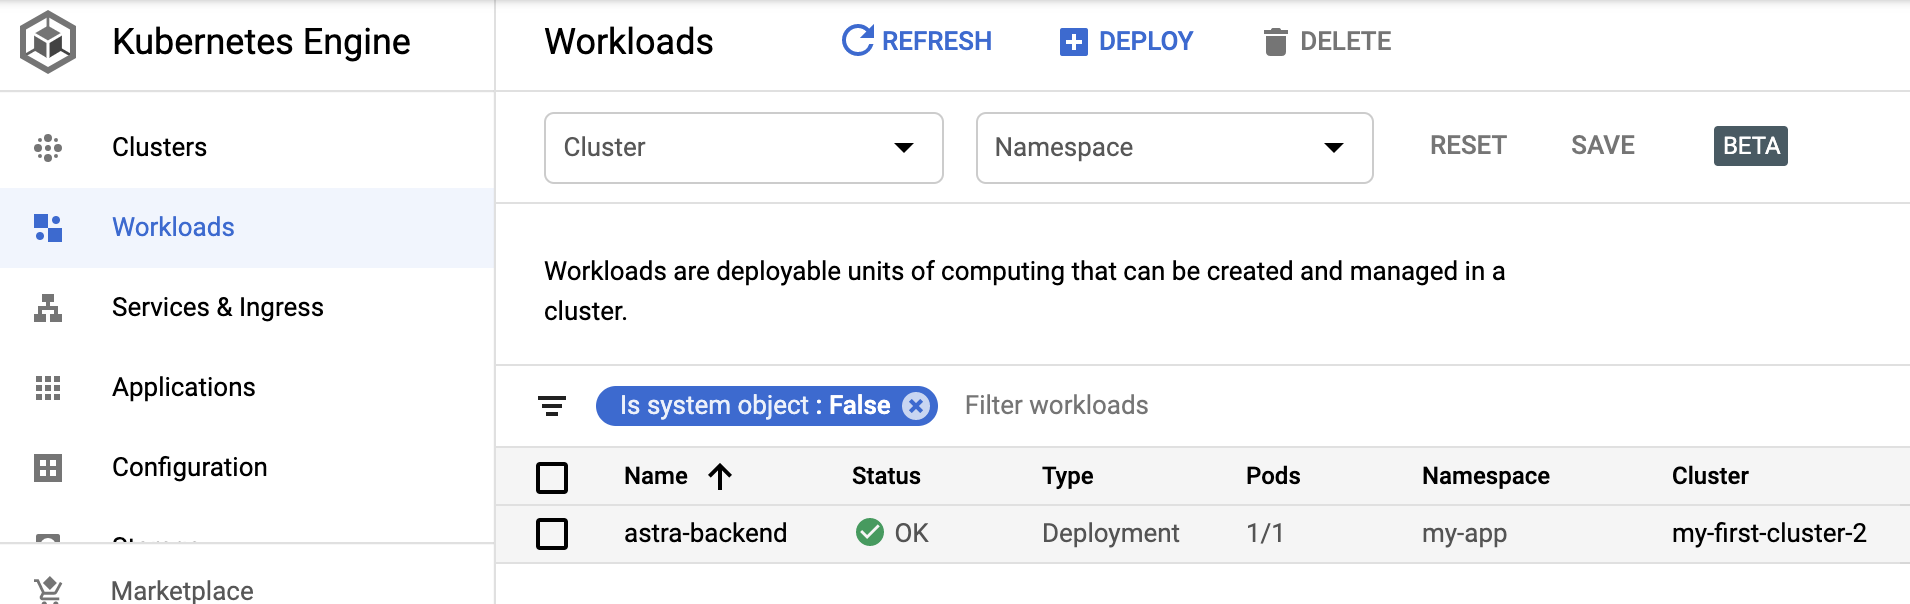
Click on the deployment to see its details, and then scroll down until you see the EXPOSE option for exposing services:

Enter the target port 5000 and click the EXPOSE button.

This will create a new service astra-backend-service. You'll see a few spinning wheels while this is happening.

When done, it will look like this:

Now click on the external endpoint, this opens a new window, and we see the homepage of the Python backend.

How does this all look in kubernetes?
Let's check out everything that got created in the my-app namespace
$ kubectl get all -n my-app
pod/astra-backend-7bbf8d5644-gs6ws   1/1     Running   0          8m32s
NAME                            TYPE           CLUSTER-IP   EXTERNAL-IP      PORT(S)        AGE
service/astra-backend-service   LoadBalancer   10.0.1.59    35.225.144.217   80:30035/TCP   4m6s
NAME                            READY   UP-TO-DATE   AVAILABLE   AGE
deployment.apps/astra-backend   1/1     1            1           8m33s
NAME                                       DESIRED   CURRENT   READY   AGE
replicaset.apps/astra-backend-7bbf8d5644   1         1         1       8m33s
Let's inspect the astra-backend-service that we created:
$ kubectl get service -n  my-app astra-backend-service -o yaml
apiVersion: v1
kind: Service
metadata:
  annotations:
    cloud.google.com/neg: '{"ingress":true}'
  creationTimestamp: "2020-08-18T09:18:16Z"
  finalizers:
  - service.kubernetes.io/load-balancer-cleanup
  name: astra-backend-service
  namespace: my-app
  resourceVersion: "6973"
  selfLink: /api/v1/namespaces/my-app/services/astra-backend-service
  uid: c20e3ebd-a7eb-48fc-9052-de808a684f29
spec:
  clusterIP: 10.0.1.59
  externalTrafficPolicy: Cluster
  ports:
  - nodePort: 30035
    port: 80
    protocol: TCP
    targetPort: 5000
  selector:
    astra: backend
  sessionAffinity: None
  type: LoadBalancer
status:
  loadBalancer:
    ingress:
    - ip: 35.225.144.217
It is tied to the astra backend deployment through the selector, and it is using an ingress with an external IP address.
Let's do the same steps for the UI. Again, let's use a UI specific configMap, uiConfig.yaml
touch uiConfig.yaml
Note that we now use the external endpoint for the astra-backend-service as the base address in the UI config. The external contact point is now bound to the lifetime of the service, no longer the pod on the worker node.
apiVersion: v1
kind: ConfigMap
metadata:
  name: ui-config
data:
  BASE_ADDRESS: "http://<your_external_endpoint>/api"
  USE_ASTRA: "true"
We will also use a new deployment for the UI, astra-ui-deployment. Again we are opting for just one replica here (but we could probably use more, not sure it makes that much sense for UIs to have more than 1).
touch astra-ui-deployment.yaml
apiVersion: apps/v1
kind: Deployment
metadata:
  name: astra-ui
spec:
  replicas: 1
  selector:
    matchLabels:
      astra: ui
  template:
    metadata:
      labels:
        astra: ui
    spec:
      containers:
      - name: astra-ui
        image: datastaxdevs/app-to-cloud:frontend
        ports:
        - containerPort: 3000
        envFrom:
        - configMapRef:
            name: ui-config
Apply both the config map and the deployment into the namespace my-app
kubectl -n my-app apply -f uiConfig.yaml
kubectl -n my-app  apply -f astra-ui-deployment.yaml
the UI always takes a bit longer to create because of the size of the image:
$ kubectl  -n my-app get pods
NAME                             READY   STATUS              RESTARTS   AGE
astra-backend-7bbf8d5644-gs6ws   1/1     Running             0          23m
astra-ui-7fd95545db-pg9lh        0/1     ContainerCreating   0          48s
Once the deployment is created we repeat the same steps to create the external contact point.
From the Workloads we get to the astra-ui deployment details, scroll down to the EXPOSE button and expose.
We specify target port 3000, expose and wait for the load balancer to be created. Once it is created, we can open it in a new window, and we should see the UI.
No firewall rules need to get created.
From here it is as before: Enter your credentials in the dialog and connect to Astra!